|

A table section is a grouping of rows that remains a unit.
Using sections lets you organize your table. A section can have
its own header and footer so that you can show detailed information
grouped by common values. Each section appears in a predictable
order in the form. By default, Designer inserts a header row for
each section.
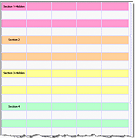
After you create a table, you can group the rows into sections.
You can also apply row shading to each section so that each section
has different colors. For example, here is a table that is grouped
into four sections.
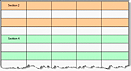
You can also make a table section optional when you do not want
to display information contained in a section. For example, here
is a table where section 1 and 3 are hidden.
To ungroup a section into rows Select the section
and select Table > Ungroup Section. Select the section
and select Table > Ungroup Section.
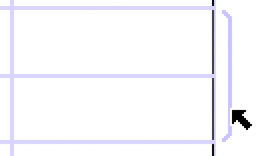
To make a table section optionalSelect
the section. See To select a table, row, column, cell, or section.
In the Object palette, click the Binding tab and deselect
Repeat Section For Each Data Item.
 To show a table section that has been hidden, select
the section, select Repeat Section For Each Data Item, select Min
Count, and type 1 in the box.
|
|
|