Learn how to create PDFs with crop marks, bleed marks, registration marks, color bars, and define bleed and slug areas with Adobe FrameMaker.
When you prepare a document for printing, a number of marks are needed to help the printer determine where to trim the paper, align separation films when producing proofs, measure film for correct calibration and dot density, and so on. Selecting any page-mark option expands the page boundaries to accommodate printer’s marks, bleed (the parts of text or objects that extend past the page boundary to account for slight inaccuracy when trimming), or slug area (an area outside the page and bleed that contains printer instructions or job sign-off information).
The Marks and Bleed tab in the PDF Publish Settings dialog box lets you specify the extent of the bleed and add a variety of printer’s marks to the generated PDF.
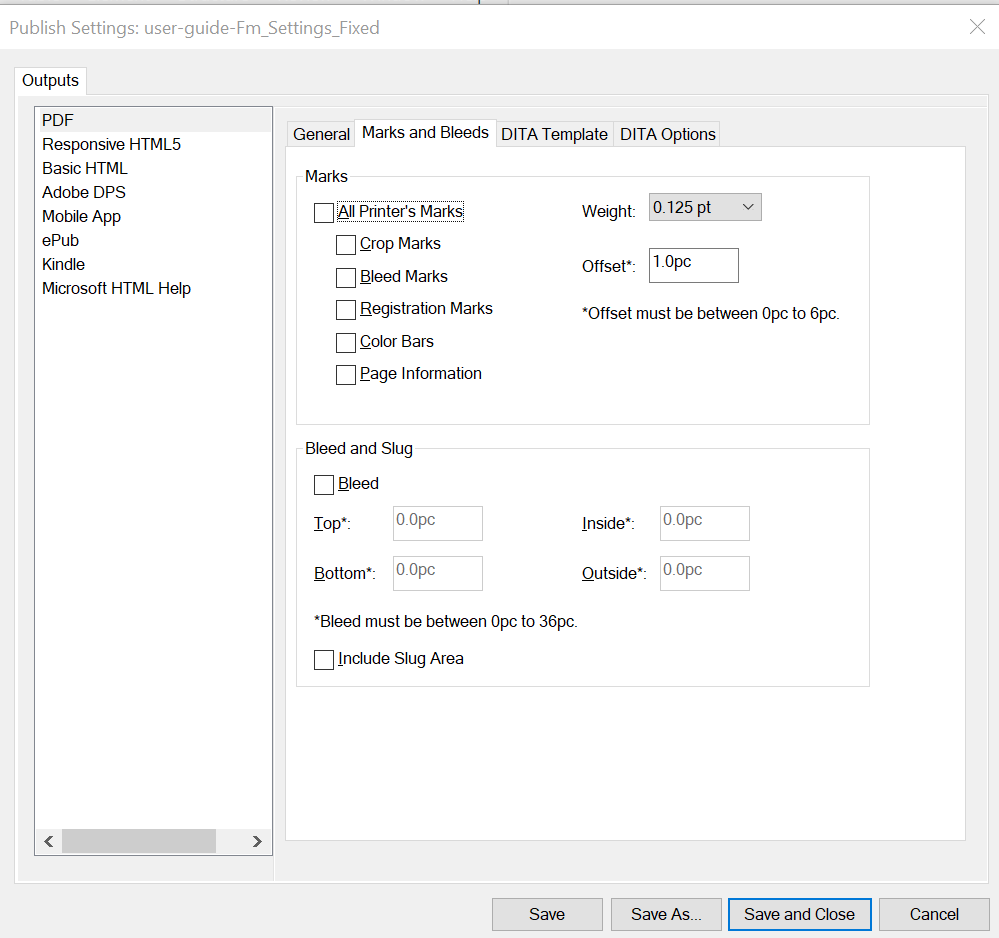
Setting available in the Marks and Bleed tab are explained below:
- All Printer’s Marks
Selects all printer’s marks including crop marks, bleed marks, registration marks, color bars, and page information.
- Crop Marks
Adds fine (hairline) horizontal and vertical rules that define where the page should be trimmed. Crop marks can also help register (align) one color separation to another. By using together with bleed marks, you can select overlapped marks.
- Bleed Marks
Adds fine (hairline) rules that define the amount of extra area to image outside the defined page size.
- Registration Marks
Adds small “targets” outside the page area for aligning the different separations in a color document.
- Color Bars
Adds small squares of color representing the CMYK inks and tints of gray (in 10% increments). Your service provider uses these marks to adjust ink density on the printing press.
- Page Information
Prints the filename, page number, current date and time, and color separation name in the lower-left corner of each page of the PDF.
- Weight
Select the weights for crop and bleed mark lines.
- Offset
Specifies how far from the edge of the page (not the bleed) FrameMaker will draw printer’s marks. To avoid drawing printer’s marks on the bleed area, be sure to enter an Offset value greater than the Bleed value. The value is specified in Pica. The following example shows the conversion between Inches and Pica:
1 inch = 6p or 6p0 (6 picas and zero points)
½ inch = 3p or 3p0 (3 picas and zero points)
¼ inch = 1p6 (1 pica and 6 points)
1/8 inch = 0p9 (9 points)
- Bleed (Inside, Outside, Top, Bottom)
Select the Bleed option ans specify values for Inside, Outside, Top, and Bottom area.
- Include Slug Area
Select Include Slug Area to print objects using the slug area.