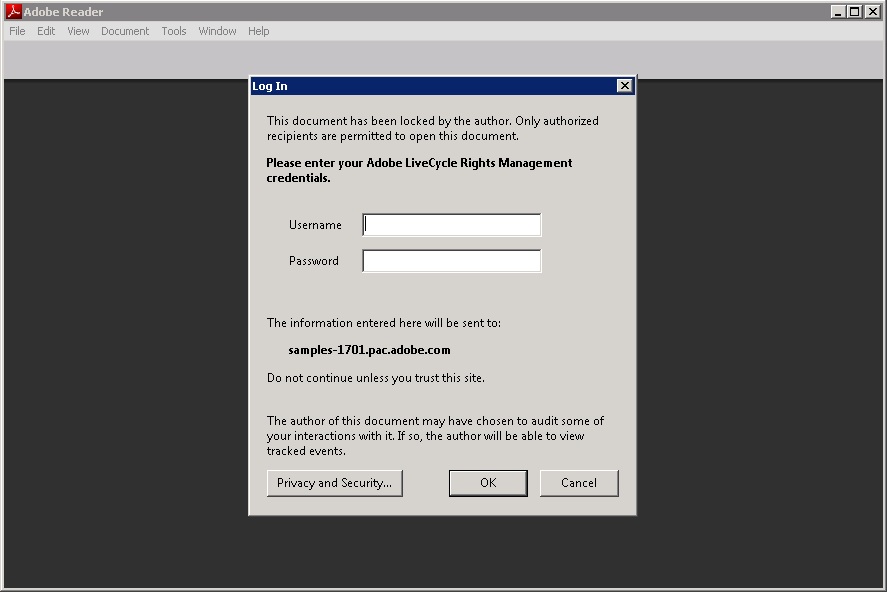
Note: If you are using Acrobat X to open the PDF file, you will see login dialog directly without clicking Allow in the dialog above.
This sample has been tested and verified on:
The Revoke On Print sample describes how to revoke a policy-protected document as soon as it is printed by using a long-lived process. This sample consists of two processes, the Apply Policy process and the Revoke On Print process. The Apply Policy process applies a test policy to one PDF document. Then the Revoke On Print process revokes the policy once the document is printed.
Note: Rights Management module must be installed.
The following files are required to run this sample.
| Filename | Description |
|---|---|
| Adobe-Samples-Service-RightsManagement.lca | The archive used for deploying the sample |
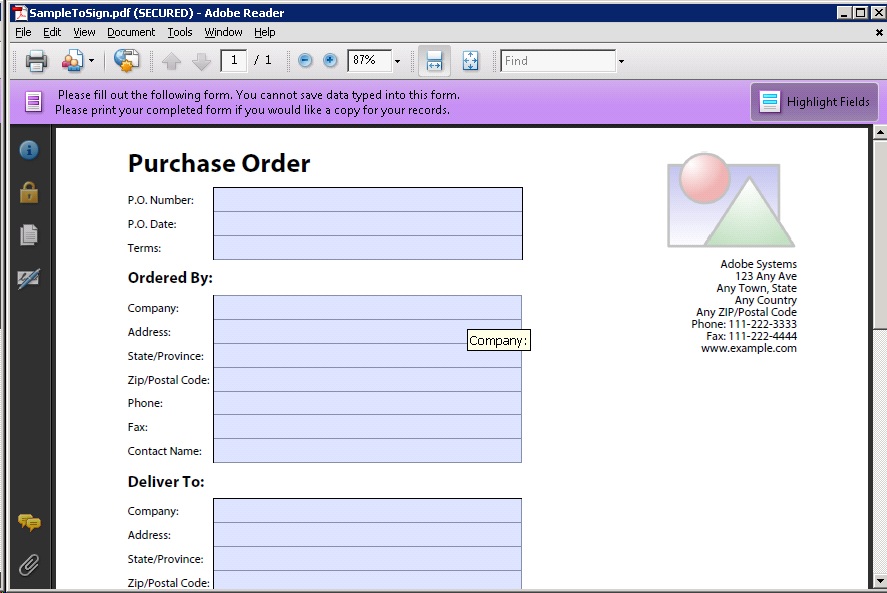
| collateral/SampleToSign.pdf | Input PDF document with policy applied |
Tip: To deploy multiple samples, use the Samples Deploy Utility.
Note: These instructions assume that ADEP-Document Services/LiveCycle ES2 is installed on the C: drive on Microsoft Windows. If you have installed to a different location, substitute the directory where you installed Document Services/LiveCycle ES2.
| Windows | C:\tmp\LCSamples\WatchedFolder\RightsManagement\ApplyPolicy |
| UNIX | /tmp/LCSamples/WatchedFolder/RightsManagement/ApplyPolicy |
Note: Before configuring and running this sample, it is necessary to deploy and run the Sample Setup Utility.
To configure SSL for Turnkey installation, see Installing and Deploying LiveCycle ES2 Using Turnkey or the ADEP Turnkey document. To configure SSL for other servers, follow the instructions detailed in the LiveCycle Administration Console Help or the ADEP Administration Console Help. This step is only necessary if SSL was not installed during the installation process.
Note: If you are using the turnkey install, restart JBoss in order for the SSL configuration to take effect.
Create a policy
The RightsManagement Event invokes the RevokeOnPrint process. By default, the event is not enabled. To enable the event:
- Log in to Administration Console (http://hostname:port/adminui) with super administrator.
- Click Services > Rights Management > Configuration > Manual Configuration.
- Click Export, and specify a location to save the configuration XML file.
- Open the configuration XML file exported with a text editor. In the editor, locate the <node name="SDK"> element,
<preferences EXTERNAL_XML_VERSION="1.0">
<root type="system">
<node name="Adobe">
<node name="LiveCycle">
<node name="Config">
<node name="PolicyServer">
<node name="SDK">
- Modify the entry element that has the key attribute with the value EventHandlersEnabled. Set the value attribute to a value of true.
<entry key="EventHandlersEnabled" value="true" />
- Save the file and return to the Manual Configuration page of Administration Console to import the configuration file. Click Browse and specify the configuration file that you modified. Click Import and then click OK.
Install the server certificate from web browser:
To allow Adobe Acrobat/Adobe Reader to accept the server SSL certificate from the Document/LiveCycle server, install the certificate into the browser (Microsoft Internet Explorer):
- On the system where the Document/LiveCycle server resides, open URL https://<fully_qualified_hostname>:<port>. Set the URL to be the same as the Base URL you set in step Configure the Rights Management Base URL. A Certificate Error page displays in the browser, choose "Continue to this website (not recommended)."
- From the top of the browser, click Security Report (with message "Certificate Error") next to address bar, then click View certificates, a Certificate window displays.
- In Certificate window, click Install Certificate to launch Certificate Import wizard.
- In the Certificate Import wizard, click Next in the Welcome page, choose Place all certificates in the following store in Certificate Store page, click Browse.... From the Select Certificate Store window choose Trusted Root Certification Authorities then click OK to close the window and return to Certificate Import wizard window.
- Click Next, then click Finish in Completing page.
- If you get a Security Warning dialog pops up, choose Yes.
- You can see a message box "The import was successful" once the import finishes. Click OK in Certificate window.
- To verify the installation, open the Base URL from a new browser, the page can be opened without any security alert.
This step is optional if you do not want to change the default watched folder path.
The path of the WatchedFolder startpoint is C:\tmp\LCSamples\WatchedFolder\RightsManagement\ApplyPolicy by default for Windows, and /tmp/LCSamples/WatchedFolder/RightsManagement/ApplyPolicy for Unix. If you want to change this path, complete the following steps:
| Windows | D:\temp\LCSamples\WatchedFolder\RightsManagement\ApplyPolicy |
| UNIX | /home/yourUserName/LCSamples/WatchedFolder/RightsManagement/ApplyPolicy |
Note: If you are using Acrobat X to open the PDF file, you will see login dialog directly without clicking Allow in the dialog above.
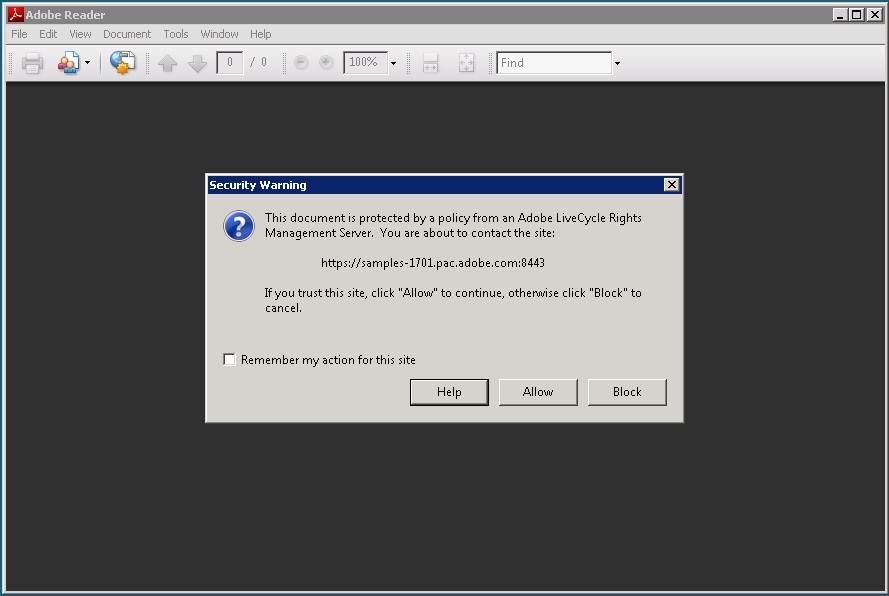
Troubleshooting: If you get error that relates to http protocol, which means the SSL or Rights Management is not setup correctly. See the SSL document or Rights Management document to configure them correctly.
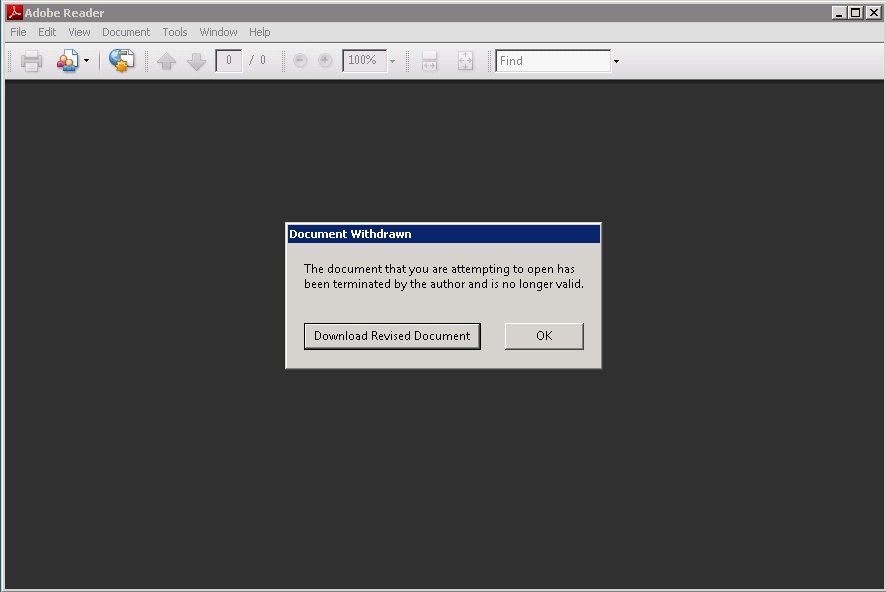
This process catches the event of printing the document, and then revokes the license on the document. To try other events, see the LiveCycle Workbench Help or the ADEP Workbench Help for more details.
Any references to company names, company logos and user names in sample material or sample forms included in this documentation and/or software are for demonstration purposes only and are not intended to refer to any actual organization or persons.
Service Sample - Document Services/LiveCycle ES2 Rights Management - Revoke on Print -
08/04/2011 10:52 PM
August 2011