This topic explains the editing views in Adobe FrameMaker: XML View and WYSIWYG View.
Introduction
Adobe FrameMaker has three views that help you author your content:
XML View allows you to work with the plain XML code of your structured FrameMaker XML files.
WYSIWYG View is classic FrameMaker, unstructured and structured. This view displays page breaks, headers and footers, all keyboard shortcuts, and all menus.
XML View
XML View allows you to work with the plain XML code of your structured FrameMaker XML files.
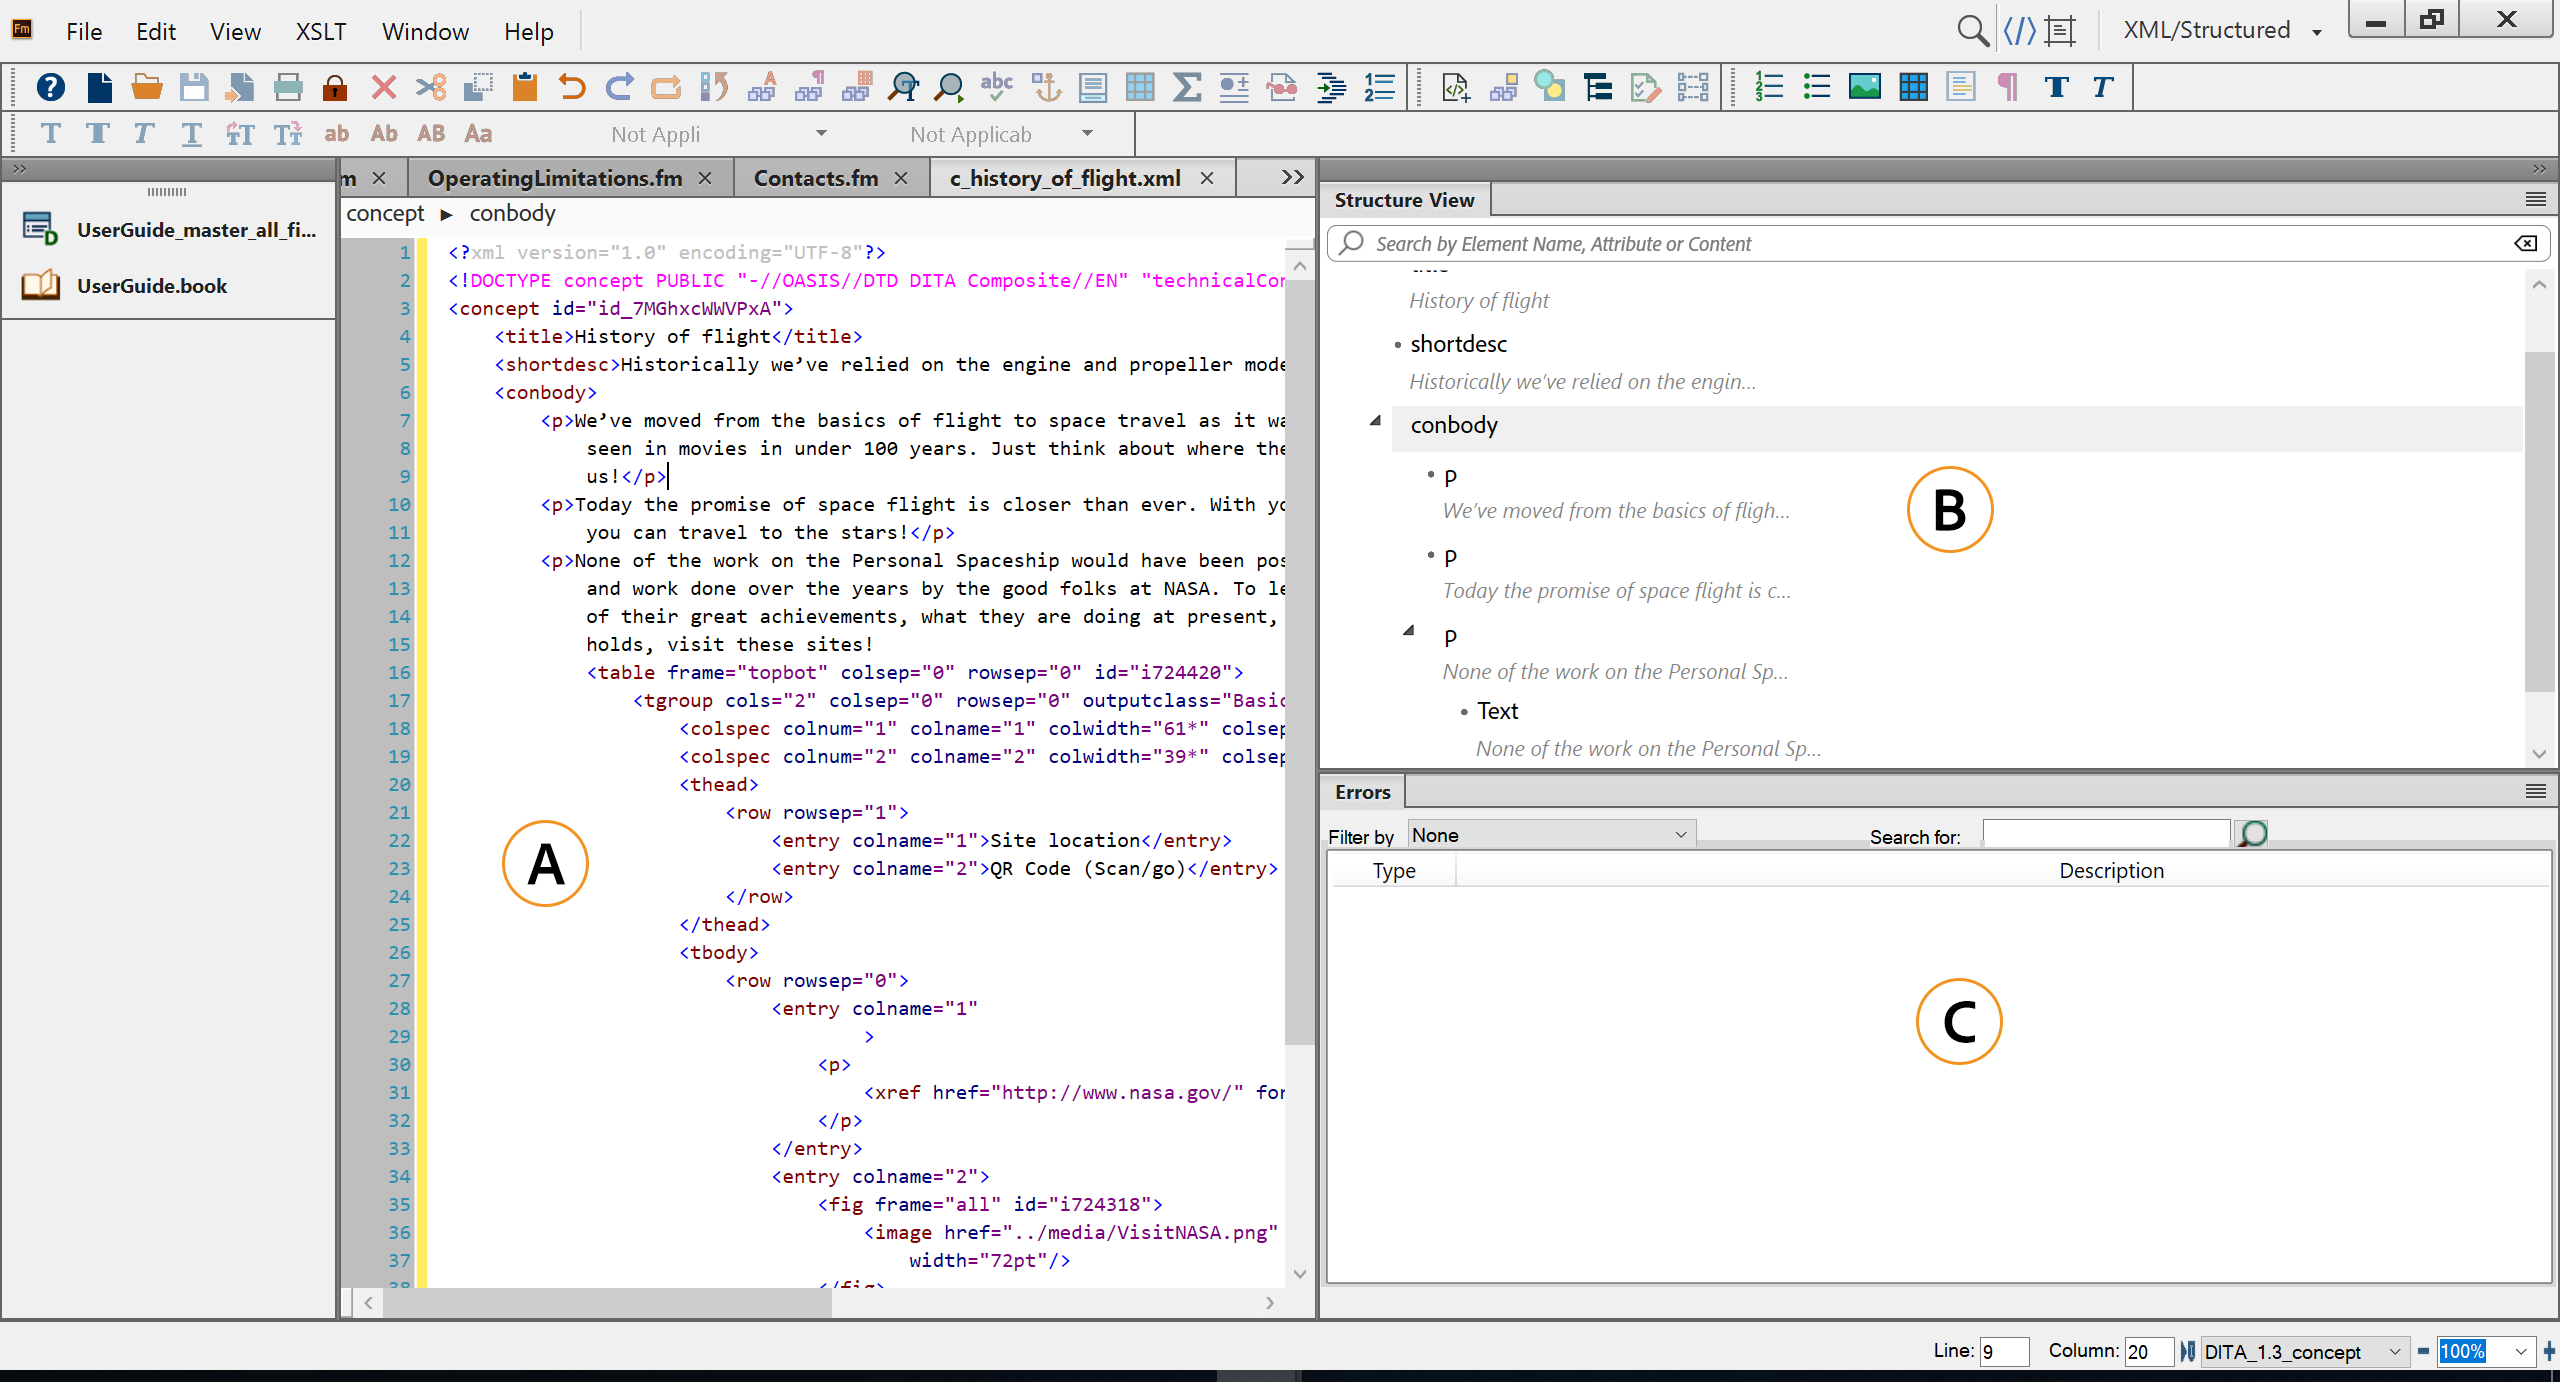
A. XML Code View B. Structure View C. Error console
FrameMaker indents the child elements by one tab space compared to their parent elements. Word wrap keeps the content of the elements visible in the width of the window. The XML view supports Unicode. You can edit multilingual content in XML View. You can also copy/paste content from the clipboard.
When you edit or change references, such as conrefs, links, and cross references, in XML View, FrameMaker updates them in WSIWYG View also. XML View automatically validates the XML content with the DTD and helps you ensure that the content is well-formed at all times. While you are working in XML View, FrameMaker automatically inserts attribute values and close tags for the tags you insert in the file.
A Find/Change dialog in XML View helps you search through the XML code. You can also use regular expressions, such as with ampersand and pipeline, to search through text. XML View also has support for XPath. You can build and use XPath expressions to locate XML content. For more information on XPath, see XPath.
The following features can be accessed using XML View only:
Console Panel
The Console panel in XML View describes the errors, if any, in the open XML files. The Console panel also displays the filename of the error. To go to the file and location of the error, click an error row.
Choose to display the Console panel.
Structure View
XML View provides a Structure View that allows you to navigate and view the structure of your XML document. The Up and Down arrow keys let you move up and down in the Structure View.
To display the tree view, choose .
The following features are available in the Structure View when it is accessed through the XML View:
Search: You can search for an element by its name, attribute name/value combination, or even the content. The following example show the search performed on an attribute name:
Figure 2. Search support in the Structure View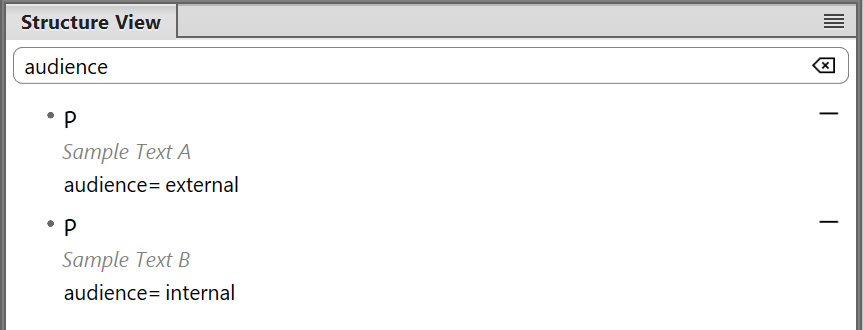
Navigation: Clicking on an element in the Structure View selects the element and its content in the XML View. This way, you can quickly navigate to the required content in your document.
Change attribute values: If your element contains an attribute, a three dots sign appears against it. The following example shows the elements that have attributes associated with them:
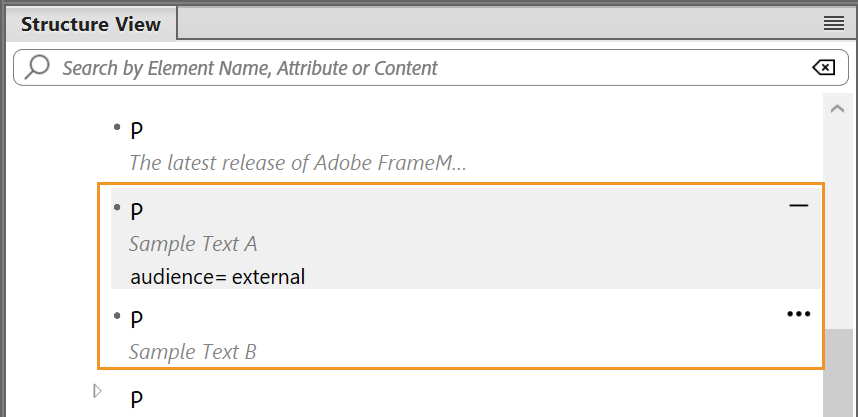
Clicking on the dots expands and shows the attribute and its value. The first highlighted element in the example is expanded, and its attribute is visible. However, the second highlight item is in collapsed state. To change the attribute's value, click on the value and enter the new value. When you press Enter, the changes are saved, and the XML code of the element is also updated.
Cut, Copy, Paste, and Delete an element: Clicking on an element, selects the element and its content. You can use the context menu or the regular keyboard shortcuts to Cut (Ctrl+x), Copy (Ctrl+c), Paste (Ctrl+v), or Delete (Del) the selected element. You can also choose to paste an element before or after the currently selected element. To do so, right-click on an element and select Paste Before or Paste After. You can also drag-and-drop elements across the topic to reorganize the content. If an element is incorrectly placed, it is highlighted in red:
Figure 3. Incorrectly placed element is highlighted in Structure View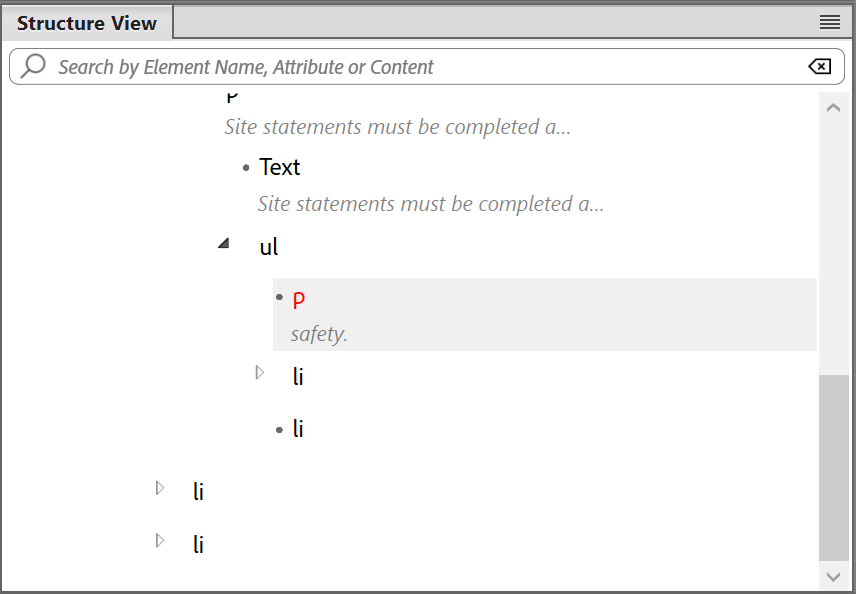
Insert an element: You can insert an element before or after the currently selected element. To do so, right-click on an element and select Insert Before or Insert After. The Insert Element catalog appears from where you can choose an element that you want to insert.
WYSIWYG View
WYSIWYG View is the classic FrameMaker view, which supports structured and unstructured authoring. WYSIWYG View has all the features of FrameMaker.
The following can be managed using WYSIWYG View only:
Creating your structured content in WYSIWYG View makes your authoring experience very simple. The latest release of FrameMaker has combined the authoring features from its earlier Simplified XML mode with the WYSIWYG View.
With the convergence of WYSIWYG with the Simplified XML, you do not need to know the underlying content rules or the XML structure to create or work on a structured document. The Quick Element Toolbar (QET) is also customized for authoring in WYSIWYG View, which allows you to easily insert valid objects in your structured document.
This following subsections explain the various ways to work with the most commonly used objects in the WYSIWYG View.
Work with ordered and unordered list
To create an ordered or unordered list in the document, choose the corresponding button in the QET.
To create a new list item, place the insertion point at the end of the current item and press Enter.
Within a list item, to insert an object (such as an image or a table), use the QET or the Insert Object pop-up.
To convert between ordered list and unordered lists, place the insertion point anywhere inside the list and choose the alternate list type from the QET.
To exit a list, place the insertion point at the end of the last list item and press the Enter key twice.
To insert a list item between two lists, either place the insertion point at the end of the first list item or at the start of the second list item and press Enter.
To split a list item into two items, place the insertion point where you want to split an item and press Enter.
To split a list into two, place the insertion point at the end of the first list item and press Enter twice. A new paragraph is created between the lists.
You can use the Tab, Shift tab keys or List Indent, List Outdent button in the QET to indent (nest) or outdent list items:
To indent a list item, place the insertion point at the start of the list item and press Tab. Or, place the insertion point anywhere in the list item and click List Indent.
Note: The operations performed by List Indent and List Outdent buttons also work with partially selected text.To reduce the indent of the list item, place the insertion point at the start of the list item and press Shift + Tab. Or, place the insertion point anywhere in the list item and click List Outdent.
If a list has multiple items, to nest some of the items in the list, select the items and press Tab or click List Indent.
To reduce the indent of any item in a nested list, place the insertion point at the start of the list item and press Shift+Tab. Or, place the insertion point anywhere in the list item and click List Outdent.
Note: If you reduce the indent of any item in a nested list, the other items remain nested.
Work with tables
To insert elements after the table, click the Insert Table button in the QET.
- To add rows or columns to the table, click in a table cell next to where you want to add the row or column, choose , and specify the number of rows or columns you want to add. You can also move rows or columns within the same or different tables, and sort the rows or columns in a table. For more information, see Table rows and columns in the Tables chapter.
To add a new row to the table, click Tab at the last column of the last row.
To move across cells in the table, you can use Tab, Shift+Tab, or arrow keys.
Work with images
When you are working in a DITA topic, concept, or reference document, click the Image button in the QET.
If you create a DITA task topic, then you are allowed to insert a graphic in the Procedure title, Short description, and Procedure steps fields. This is because in the task topics, the graphic is wrapped inside the
<image>element.To move the image, you need to click on the Image anchor and then drag-and-drop the image.
To resize an image, click to select the image object (not the Image anchor) and drag a side handle to change either the width or height.
To view the object properties of the imported graphic, right click the graphic and choose . To view object properties of the anchored frame, click on the anchor and choose .
Switch between the views
You can switch between the three views by clicking the relevant icon in the Application bar.
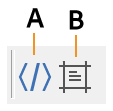
A. XML View B. WYSIWYG View
XML View is support only for structured files. When you have unstructured files open and you switch from WYSIWYG View to XML View, FrameMaker keeps the unstructured files also in the view. When you quit FrameMaker from when there are unsaved files, FrameMaker alerts you.