Understand DITA keyspaces and learn how to create and manage keyspaces to manage DITA key references in Adobe FrameMaker.
Introduction
In a DITA topic, you can directly reference content by specifying the DITA topic file (.xml). For example, to add links in the Related Links section of a DITA topic, you can choose the topic files to reference.
However, DITA also provides the specifications for using keys to indirectly reference content. See the DITA specification on Indirect key-based addressing.
Using keys adds a degree of indirection to the referenced content. When working with keys, the author does not reference topic files directly. The author is provided with a keyspace, a collection of user-defined keys to reference. The keyspace internally references any number of topics. The author is then concerned only with the keys in the provided keyspaces. Also, since the keys are user-defined, they can be named appropriately to allow author to easily recognize them.
The key definition elements are used to create keymaps since, by default, these elements are not generated in DITA output.
Create a keyspace
A keyspace is created using a ditamap. To create a ditamap to use as a keyspace, you need to add keydef elements to the ditamap.
Add
<keydef>elements to the ditamap.The
@keysattribute is used to identify a specific<keydef>in a keyspace. Since the@keysattribute is mandatory for a<keydef>element, you can specify the attribute value in the Attributes for New Elements dialog or in the Key Name field in the Insert Element dialog.An author using the keyspace then will only refer to the key names and not directly to the associated DITA topics. For this reason, you should specify key values that are clearly indicative of the referenced (underlying) topic content.
Save the ditamap.
Manage keyspaces
To use a key reference in your DITA topic, you need to load the keyspace in Adobe FrameMaker.
Choose top open the DITA Keyspace Manager.
Alternatively, you can also click the Manage Keyspaces icon in the book window.
Figure 1. Manage Keyspaces icon in the book window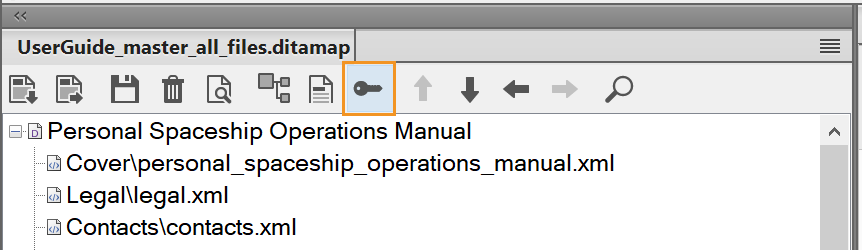
The DITA Keyspace Manager dialog appears.
Figure 2. DITA Keyspace Manager dialog
From the Keyspace drop-down list, select a ditamap that is defined as a keyspace.
By default, the first key in the list is always selected. ditamaps that are open in the current session are displayed in the Keyspace drop-down list. You can search for a keyspace by entering the first few characters of the key.
If the required ditamap is not available in the list, click Load Keyspace and select the ditamap file. The key references defined in the keyspace are displayed in the defined keys list.
If you want to update the references in all open documents using the (currently loaded) keyspace, then select the Update References in All Open Documents Using This Keyspace option. This way you will not have to individually load the keyspace for each open document.
If you want to use the same keyspace for files that you will open in the current session, then select the Keep This Keyspace Loaded While Opening New Files option.
If you make changes to the keyspace (ditamap) after loading the keyspace in the current environment, click the Refresh icon to view changes to the key references.
Click OK to apply the selected keyspace across all open ditamaps.
To select a different keyspace for a particular document, use the set keyspace manager. You can set keyspace from multiple paths, such as, DITA cross-references, DITA links, and insert conrefs.