Understand how to print a document and the various print options available in Adobe FrameMaker.
Introduction
In Adobe FrameMaker you can print a document to any printer you have installed. When you print a document, you can specify options such as how many copies to print and whether to print crop marks and registration marks. The available options vary slightly with the printer you are using. You can also print a book made up of several documents.
If you have turned off graphics in the View Options dialog box, graphics do not appear in the printed document.
Print to a desktop printer
You can print each page of a document as a composite. A composite page contains all the colors on the page. You print a composite color document when printing to a desktop color printer.
To print to a FrameMaker document desktop printer, do the following:
Choose .
Specify the page range that you want to print.
Make sure that Print Separations is unselected.
Set the remaining print options as necessary and click Print.
Print options
The following print options are available for all printers. All these options are in the Print dialog box. For information on additional options available for your printer, see your printer documentation.
- Collating
To print one complete copy before printing the next copy, select Collate when you are printing multiple copies. Printing might be slower when Collate is selected.
- Printing double-sided
To print a double-sided document, print the odd-numbered pages, turn the paper over and reinsert them into the printer, and print the even-numbered pages. Depending on how your printer produces pages, you may need to select Last Sheet First before you click Print. Turning the paper over in the printer may reverse the page order.
- Changing page order
To print a document starting with the last page, select Last Sheet First.
- Printing more quickly
To print a document more quickly, select Low-Resolution Images. The imported images are printed as gray boxes.
- Printing crop marks and registration marks
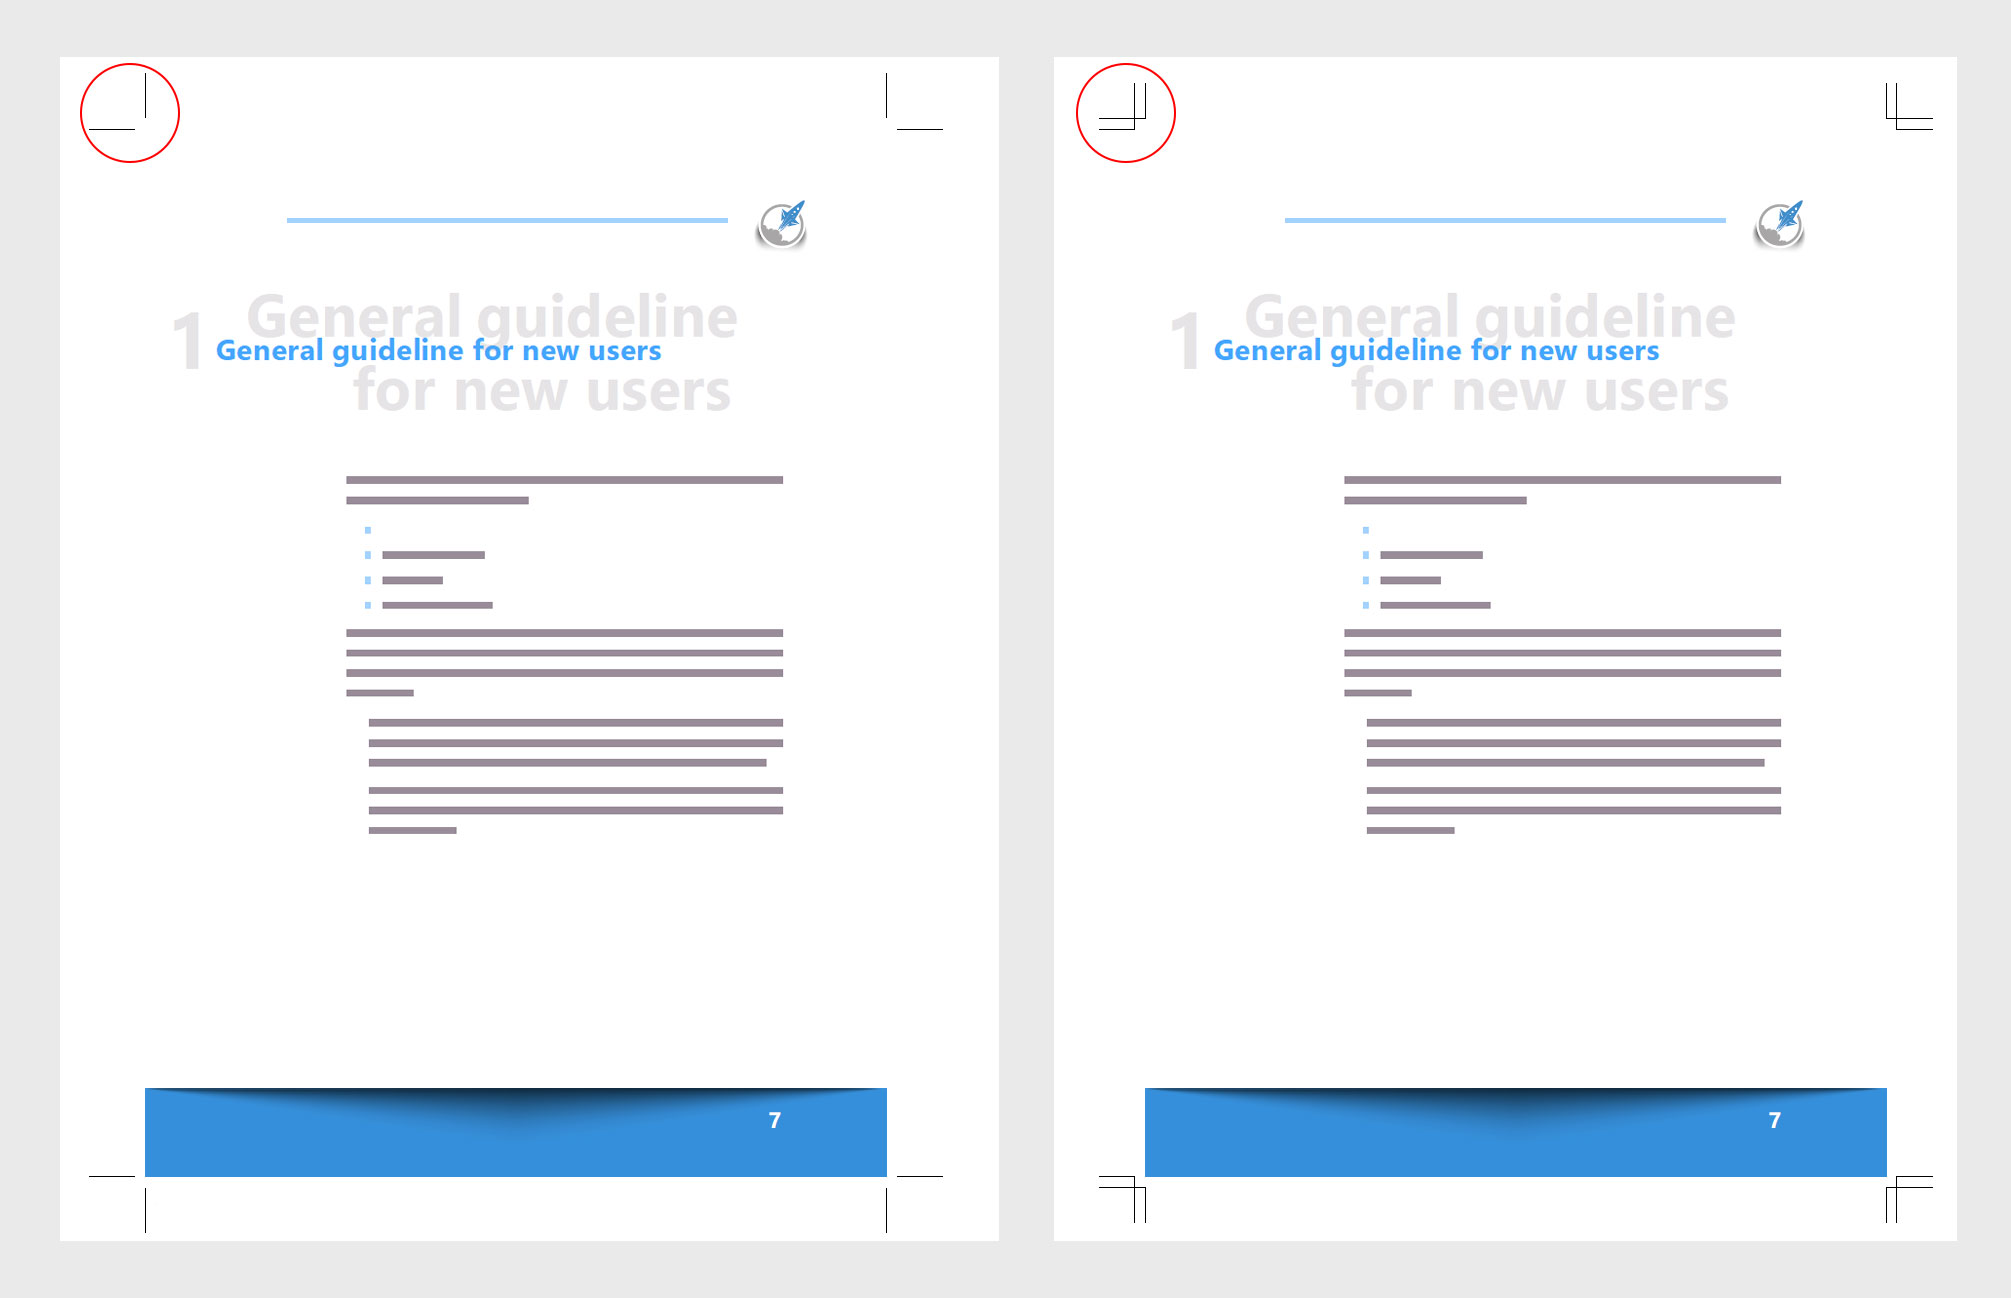
To print a document with crop marks and registration marks, choose an option from the Registration Marks drop-down list. You may need to scale down the printed page or choose a larger page size so that crop marks and registration marks fit on the page.
You can choose between Western and Tombo (Japanese) crop marks.
Figure 1. Western and Tombo crop marks
- Reducing or enlarging the page image
To print a reduced or enlarged page image centered on the page, enter a percentage in the Scale box.
- Printing thumbnails
To print thumbnails (small images of several pages on one page), enter values in the Thumbnails text boxes. In the Rows box, enter the number of thumbnails you want to print down the page. In the Cols box, enter the number of thumbnails you want to print across the page.
- Skipping blank pages
To prevent printing blank pages, select Skip Blank Pages.
- Printing colors in black and white
To ensure that colored objects (FrameMaker illustrations and text) are printed in black and white rather than in shades of gray, select Spot Color As Black/White.
- Feeding paper manually
To print the document on paper that is not in your printer paper cassette, choose . Select Manual Feed from the Source drop-down list, and click OK.